Introduction
The Pi-hole® is a DNS sinkhole that protects your devices from unwanted content, without installing any client-side software.
- Pi-hole
The Pi in the name Pi-hole stands for Raspberry Pi. It is our grown its purpose, one of them being Pi no longer a prerequisite. Without further ado, let’s get our hands dirty.
Getting Started
Prerequisite
- Docker
- Docker compose
- sudo/Admin privileges on the box
Installing docker
Fire up terminal. Windows users can install docker using this guide . Here are the commands for Linux users. There are no commands for Mac, because your computer isn't yours anyway. 😁
| |
Setting up docker
This part is only for linux users. Docker service have to be started and enabled(make sure it auto start on reboot). This can be accomplished with systemctl. Before that current user must be added to docker group. If docker group is not created, it has to be created
| |
Start and enable docker service and docker socket. Enable and start can be combined into a single command, but we are trying to keep things simple here
| |
Verify docker is running, if it says permission denied. then use the command below
| |
Running Pi-hole
Next up, Create a new directory pihole, cd into it and create docker-compose.yaml file with the content below. Update timezone and password in environment section. This will be your password for Pi-hole webinterface. Feel free to change port number to your liking. For me port 80 is already in-use by nginx server. I am using 8888, Any other port can be used, just make sure you are not using any reserved ports
.
| |
Start Pi-hole with the below command.
| |
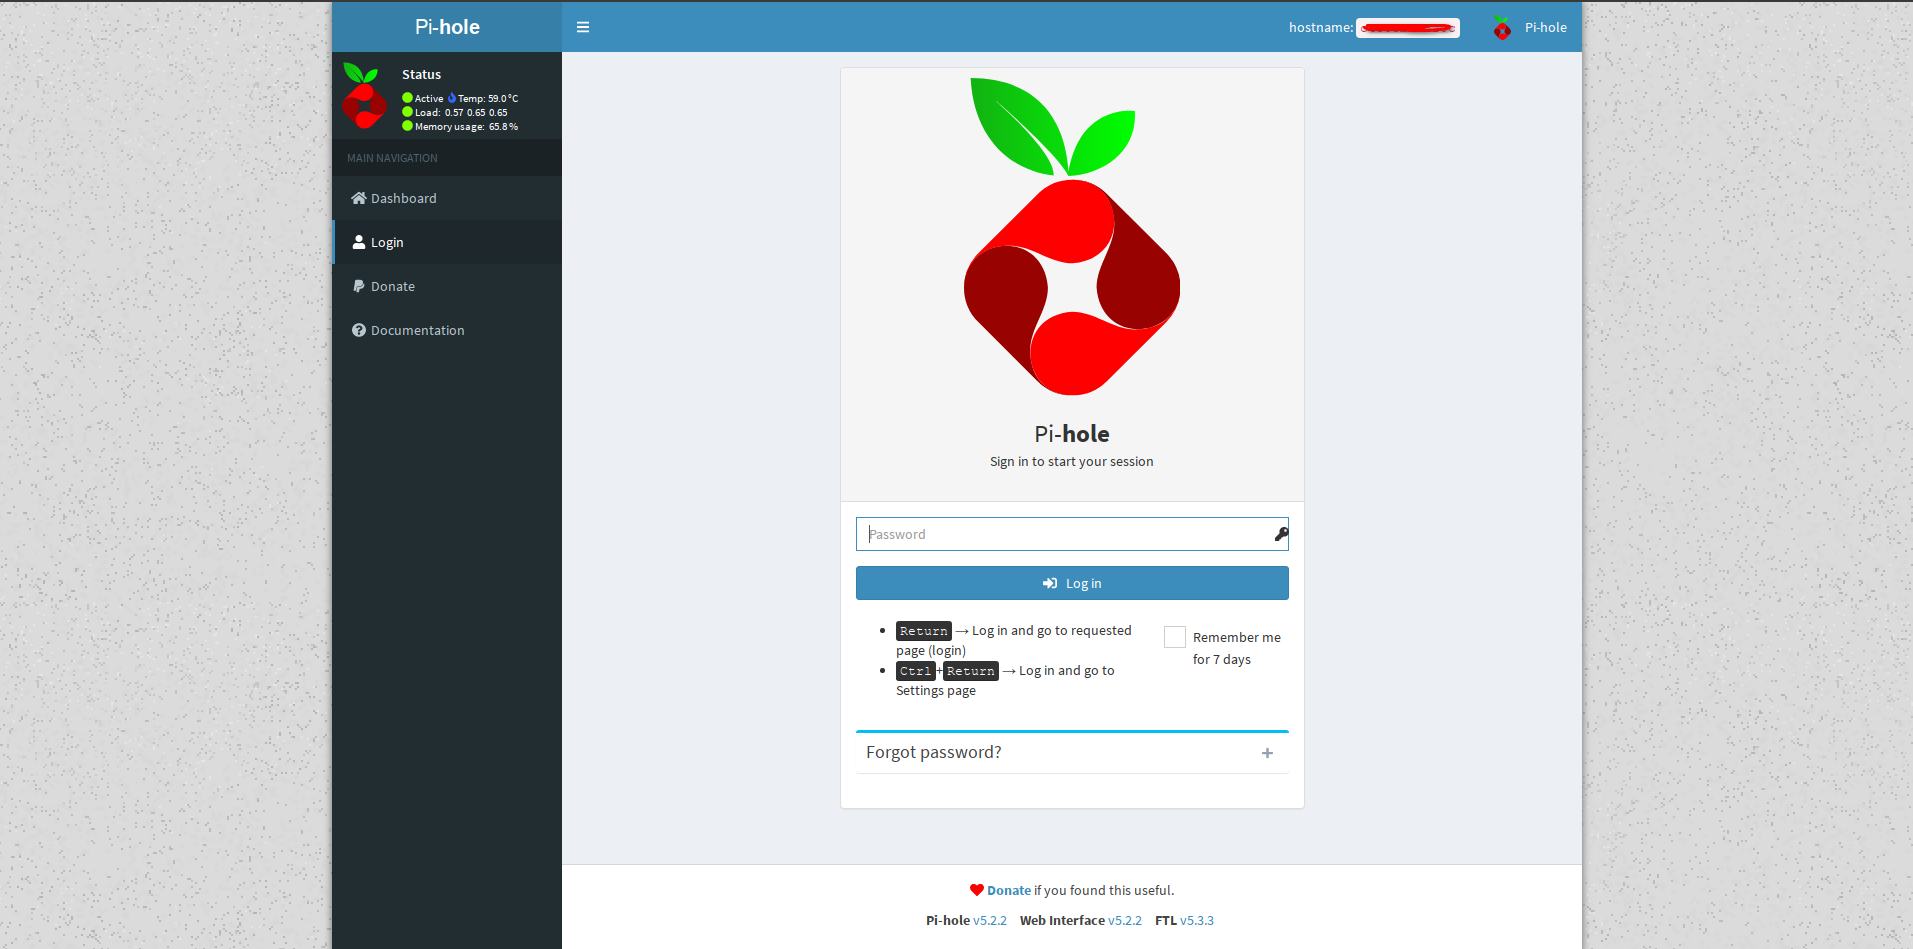
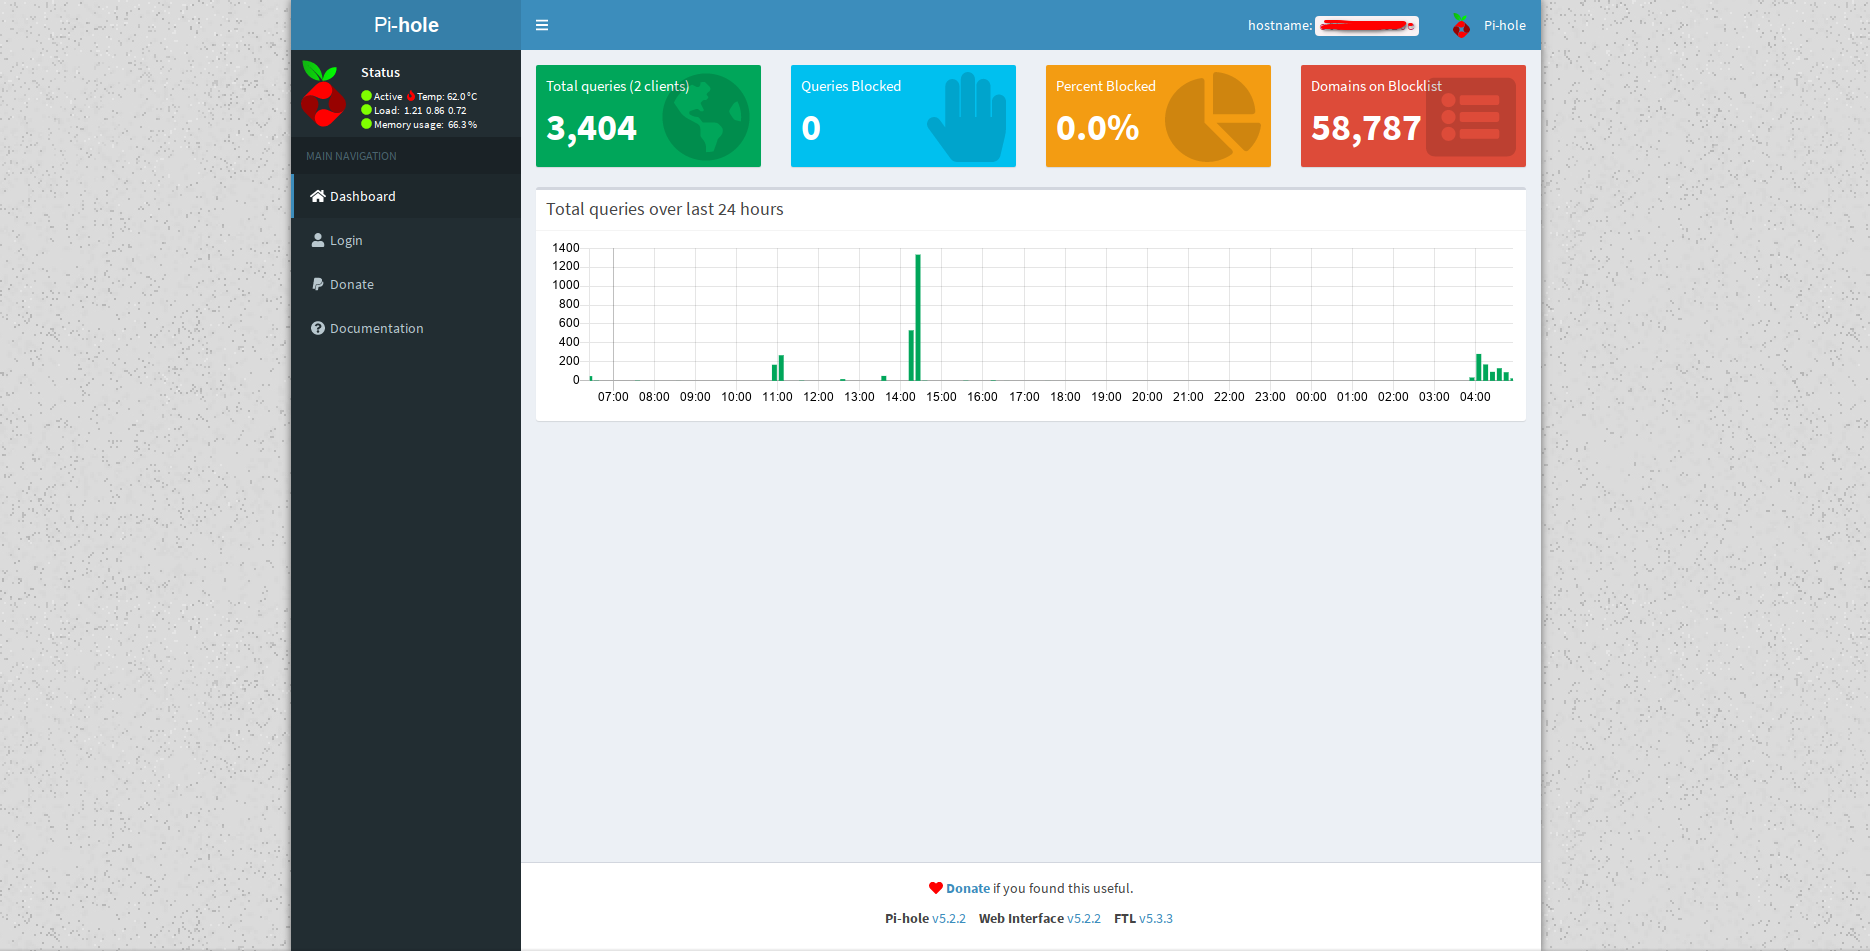
Pi-hole should be running now, and web interface can be accessed at http://localhost:8888/admin, assuming same port from above yaml is used. Navigate to Login page, Login with password you have used in yaml file.
Using Pi-hole
Admin Panel
Go to settings > dns > UpStream DNS Servers
- Uncheck the checkboxes beside Google(ECS) for IPv4 and IPv6 (if available)
- Check the checkboxes beside openDNS(ESC, DNSSEC) for IPv4 and IPV6 (if available)
- Hit save.
Pi-hole is using openDNS now.
Sending dns queries to Pi-hole
- Identify the IP address of the docker
Useifconfigcommand to find you the IP address of docker interface(docker0) for me it is 172.17.0.1 yours may be different. - Set the above IP as your DNS server,This can be done by updating
/etc/resolv.conffile. Comment existing line by adding a # at the start of line and append this lines to the file
nameserver <IP_address>
nameserver 176.103.130.130  # adgard dns
nameserver 1.1.1.1  # cloud flare DNS
Extra servers are added to prevent interruption of internet in case something goes wrong and pi-hole stops.
Windows users can follow this guide to change their DNS, and we are done!
Closing thoughts
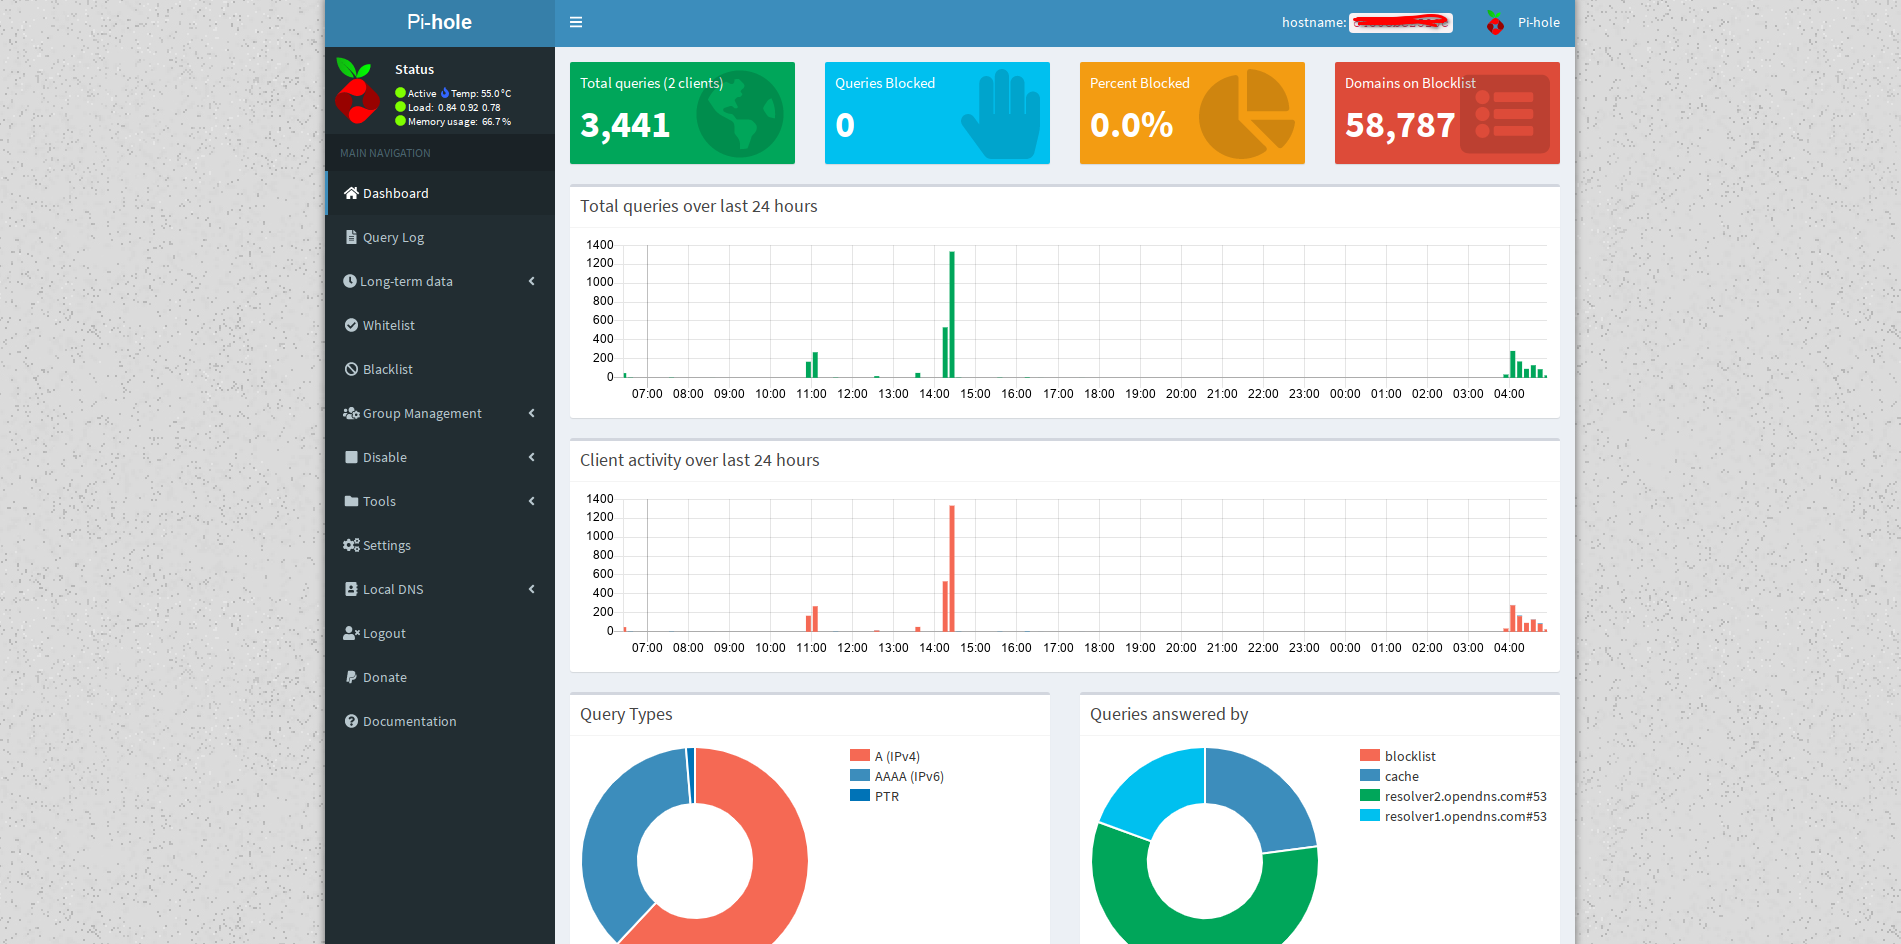
With above setup, Ads and unwanted traffic is stopped at machine level. It benefits all apps connecting to internet. It however important to note that this not full proof but definitely a huge step in right direction.
The footer in web-interface show current version of pi-hole running in docker. If any update is released, It notifies that update is available. To update pi-hole to latest version, use the command below.
| |
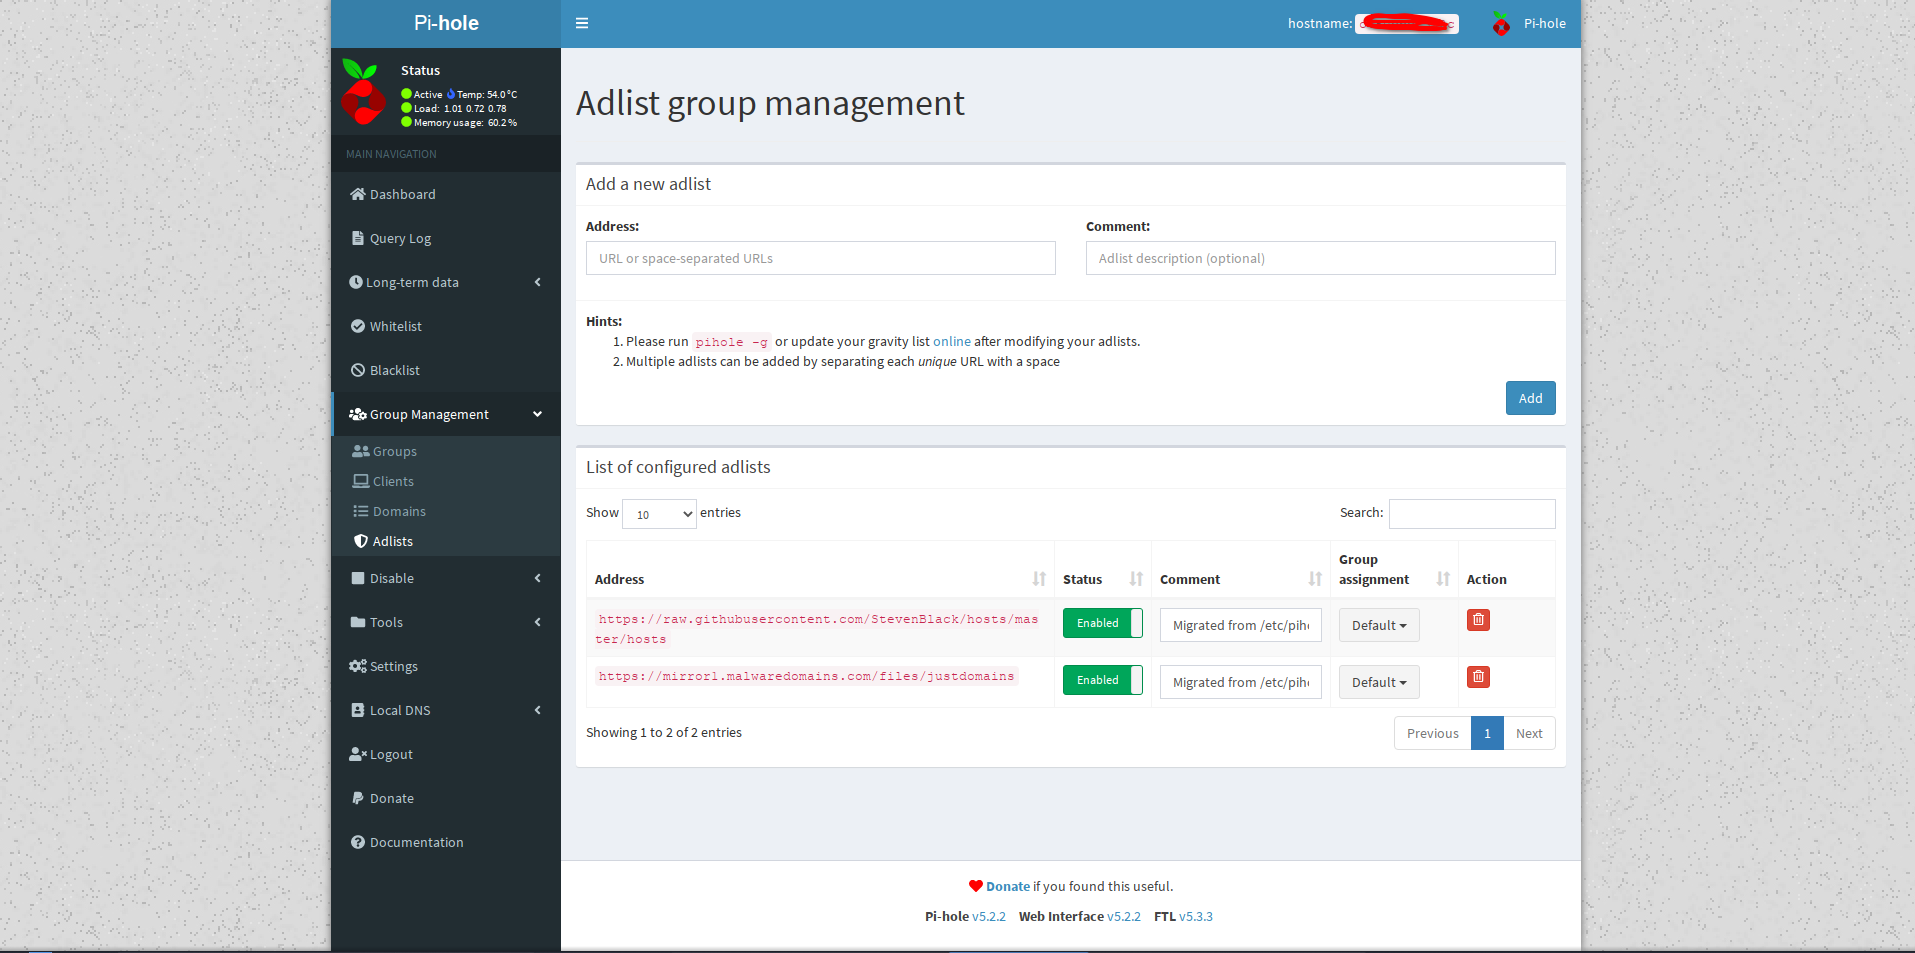
Group Management > Adlists
There are few adblocking lists already added. More can be found github with a simple query. Adding too many can slowdown DNS queries and not recommended.


